 DesignFlux Team
“Can you make it pop?” Every designer has heard it, and every client who never learned how to write a design brief has felt the frustration of getting back something that wasn’t quite what they imagined.
Learning how to write a design brief is one of the easiest ways to avoid that frustration. A clear brief is the single biggest factor in how quickly you get a design you love. It cuts revision rounds, saves time on both sides and makes the result more effective.
Whether you’re requesting social media graphics, website visuals, a new logo or an advertising campaign, your designer needs more than a general idea.
The good news is that you don’t need a complicated document. A few specific details can make a significant difference.
Here’s how to write one.
Start with the goal, not the design
Before describing how something should look, explain what it needs to do.
Weak: “We need an Instagram post about our sale.”
Strong: “We need an Instagram post that drives existing followers to our weekend sale. 30% off all shoes, ends Sunday.”
When a designer knows the goal, they can make smart decisions about hierarchy, color and layout that you may not have thought to ask for.
For example, if your primary goal is generating sales, the discount and product should receive more attention than decorative elements.
However, if you’re introducing a new brand, recognition and messaging might matter more than an immediate purchase.
Try answering three questions before describing the visuals: What are we promoting? What action should people take? How will we know whether the design worked?
According to Asana’s guide to design briefs, project objectives, scope, audience and deliverables all help establish clear expectations before creative work begins.
When learning how to write a design brief, starting with a measurable objective gives your designer a useful foundation.
Describe your audience in the design brief
Who will see this design? A post for first-time visitors looks very different from an email to loyal customers. Include:
- Who they are (age range, role, industry)
- What they care about
- Where they’ll see it (phone, desktop, print, trade show)
For example, an advertisement targeting busy business owners might require a direct headline, minimal text and a prominent benefit.
Meanwhile, a promotional graphic for an existing customer base may focus more on product details, loyalty offers or familiarity with your brand.
Avoid descriptions like “everyone” or “people who like quality products.” They don’t give designers enough information to make useful decisions.
Instead, describe the specific audience and the problem your offer solves for them.
Also, mention whether the design will reach cold audiences, existing followers or returning customers. This helps determine how much explanation the creative needs.
Give the essentials in your design brief
Every brief should include the practical details a designer can’t guess:
- Format and size: e.g. 1080 × 1350 Instagram post, A5 flyer, 16:9 slide deck
- Copy: the exact headline, body text and call-to-action
- Must-have elements: logo, product photos, QR code, legal text
- Deadline: when you need it, and when you’ll be available to give feedback
These details might seem obvious, but missing information creates unnecessary back-and-forth.
For example, asking for a social media advertisement without specifying the platform can lead to the wrong dimensions or an unsuitable layout.
Similarly, providing approximate pricing or unfinished promotional text increases the risk of errors and additional revisions.
Whenever possible, supply the final approved wording. Clearly identify which text must remain unchanged and which elements the designer can adjust.
If you need multiple formats, mention every required size in the original request.
Finally, specify whether you need editable source files, print-ready artwork or standard image exports.
The more precise your requirements, the easier it becomes to deliver the correct design.
Share inspiration and what to avoid
Visual references are worth a thousand words. Send two or three examples of designs you like, and say what you like about each one: the colors, the layout, the mood.
Just as useful: examples of what you don’t want. “Nothing too corporate” means different things to different people, but a screenshot makes it clear.
For example, you might share a minimal product advertisement and explain that you like its clean spacing and strong typography.
Another reference might demonstrate the photography style you’re trying to achieve.
However, don’t expect your designer to guess which elements matter to you. Explain the specific qualities you want to carry into your project.
Also, distinguish inspiration from instructions to copy an existing design.
The purpose of references is to communicate direction while allowing your designer to create something appropriate for your brand.
Providing both positive and negative examples is particularly helpful when you have specific preferences about colors, layouts or typography.
Point to your brand assets
If you have brand guidelines, logos, fonts or a color palette, include them or link to them. At DesignFlux, this happens once during onboarding, and your designer learns your brand on day one so you don’t repeat yourself on every request.
However, brand assets should be easy to locate and clearly organized.
Ideally, your designer should have access to approved logo variations, font names, color codes, product photography and examples of previously approved designs.
Avoid sending several outdated logos without explaining which version is current.
For product-focused work, specify whether the supplied photographs must remain exactly as provided. This is especially important when accurate packaging, colors and proportions matter.
For additional guidance on organizing project requirements, Adobe’s creative brief guidance covers objectives, audience, deliverables, brand details and deadlines.
Once your assets and guidelines are in place, creating future requests becomes much simpler.
A simple design brief template
Copy and paste this for your next request:
- Project: What are we making?
- Goal: What should it achieve?
- Audience: Who will see it, and where?
- Format & size: Dimensions, file type, platform
- Copy: Headline, body, call-to-action
- Must include: Logo, images, links, legal text
- Inspiration: Links or screenshots, plus what you like about them
- Avoid: Styles, colors or ideas that are off-limits
- Deadline: Target date
This template works for most everyday graphic design requests, from single social posts to promotional banners and presentation designs.
For more complex projects, you can add details such as the number of concepts, required variations, approval responsibilities and expected final deliverables.
For example, a campaign containing five advertisements might require different headlines, image variations and platform sizes.
Clearly explain those requirements instead of submitting a vague request for “five different ads.”
Remember that the purpose of the template is clarity, not paperwork.
Once you understand how to write a design brief, filling out these fields becomes a straightforward part of your normal workflow.
How to give useful feedback
Even with a great brief, the first version is a starting point. When you review it:
- Lead with what works. It tells the designer what to keep.
- Be specific. “Make the headline larger and move the logo to the bottom right” beats “it feels off.”
- Explain the why. “The price needs to be more visible because that’s our main hook” helps the designer solve the real problem.
- Consolidate feedback. Gather comments from your team into one message so the designer isn’t pulled in different directions.
Useful feedback focuses on the design’s effectiveness rather than personal reactions alone.
For example, saying “I don’t like the layout” leaves the designer guessing.
Instead, explain that the product feels too small, the headline doesn’t stand out or the call-to-action is difficult to notice.
Also, separate essential corrections from optional preferences.
If the price is incorrect, that needs immediate attention. If you simply prefer a slightly different background shade, communicate it as a refinement.
When several people review the same design, appoint one person to collect and approve feedback.
This prevents contradictory instructions and unnecessary revision rounds.
Keep approved elements unchanged
One common source of frustration is losing parts of a design that were already approved.
If the layout, typography and color palette work, explain that they should remain unchanged while the designer updates a specific element.
For example, you might request a new product photo and price while keeping the existing composition intact.
This helps preserve consistency across campaigns and avoids repeating decisions your team has already made.
A good feedback process should move a design closer to completion with each round, not restart the entire creative direction.
Why learning how to write a design brief pays off
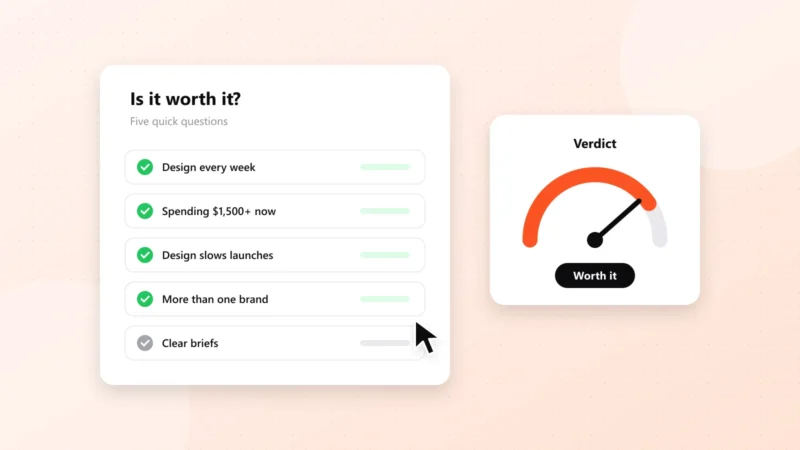
A good brief takes ten minutes to write and can save days of back-and-forth. With an unlimited design subscription, it also means your queue moves faster, because every request arrives with the information needed to start work.
For marketing teams managing several campaigns, that efficiency can make a noticeable difference.
Instead of repeatedly answering questions about dimensions, messaging and visual references, you can focus on reviewing completed designs and preparing the next request.
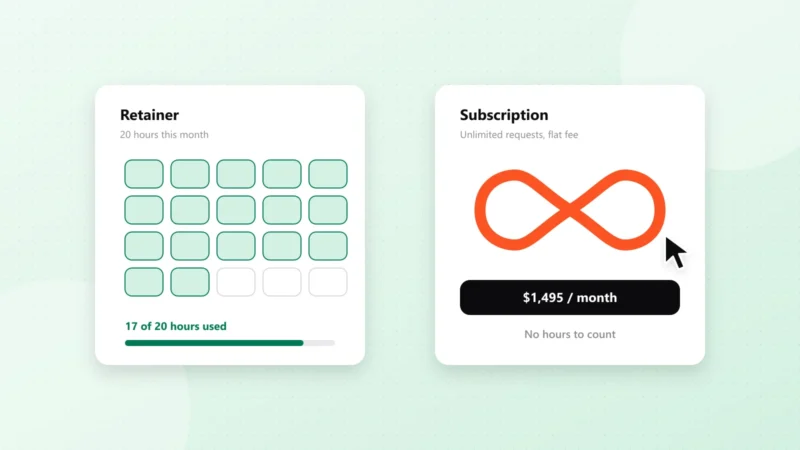
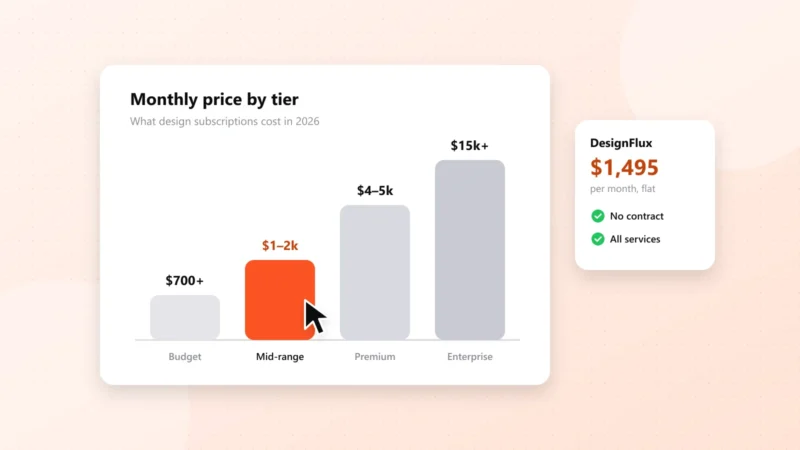
DesignFlux offers an unlimited graphic design subscription for $1,495 per month, supporting ongoing requests and revisions through a structured design workflow.
Clear briefs help your designer understand priorities, reduce avoidable misunderstandings and keep production moving.
Ultimately, understanding how to write a design brief isn’t about becoming a designer yourself. It’s about communicating what your business needs so a professional can deliver it accurately.
Start with the goal, describe your audience, provide the essentials and give specific feedback.
The better the information going into a project, the better your chances of getting the right design the first time.